Introduction
In this article, i will guide how to install Jenkins in Ubuntu using a Docker container.
Prerequisites
Docker installed
Create a bridge network
Open the terminal and create a bridge network using the following command
sudo docker network create jenkins

Run Docker image container
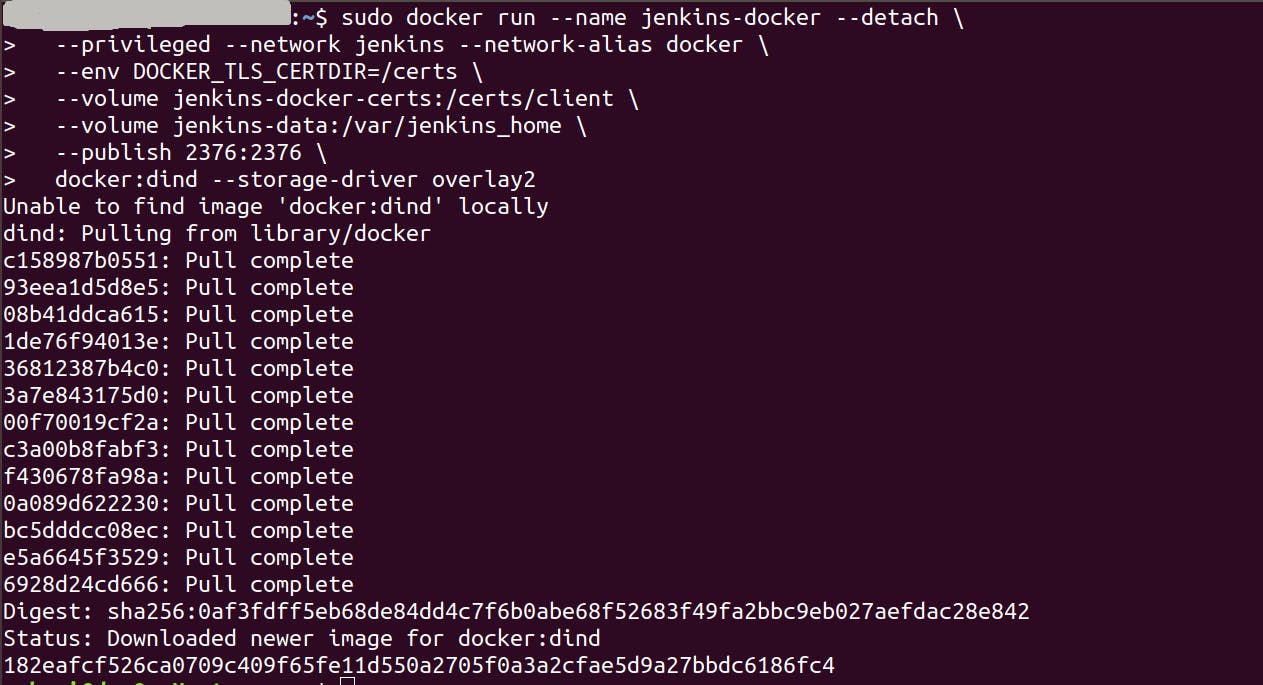
To execute Docker commands inside Jenkins nodes, download and run the docker:dind Docker image using the following docker run command
sudo docker run --name jenkins-docker --detach \
  --privileged --network jenkins --network-alias docker \
  --env DOCKER_TLS_CERTDIR=/certs \
  --volume jenkins-docker-certs:/certs/client \
  --volume jenkins-data:/var/jenkins_home \
  --publish 2376:2376 \
  docker:dind --storage-driver overlay2
(--name) Specifies the Docker container name to use for running the image.
(--detach) Runs the Docker container in the background.
(--privileged) Running Docker in Docker currently requires privileged access to function properly.
(--network jenkins) The network created in the earlier step.
(--network-alias docker) Makes the Docker in Docker container available as the hostname
dockerwithin thejenkinsnetwork.(--env DOCKER_TLS_CERTDIR=/certs) Enables the use of TLS in the Docker server.
(--volume jenkins-docker-certs:/certs/client) Maps the
/certs/clientdirectory inside the container to a Docker volume namedjenkins-docker-certsas created above.(--volume jenkins-data:/var/jenkins_home) Maps the
/var/jenkins_homedirectory inside the container to the directory namedjenkins-data. This will allow for other Docker containers controlled by this Docker container’s Docker daemon to mount data from Jenkins.(--publish 2376:2376) Exposes the Docker daemon port on the host machine.
The
docker:dindimage itself.(--storage-driver overlay2)The storage driver for the Docker volume.
Customise official Jenkins Docker image
Open command terminal and create one directory then create Dockerfile in it with the following content
FROM jenkins/jenkins:2.375.1
USER root
RUN apt-get update && apt-get install -y lsb-release
RUN curl -fsSLo /usr/share/keyrings/docker-archive-keyring.asc \
  https://download.docker.com/linux/debian/gpg
RUN echo "deb [arch=$(dpkg --print-architecture) \
  signed-by=/usr/share/keyrings/docker-archive-keyring.asc] \
  https://download.docker.com/linux/debian \
  $(lsb_release -cs) stable" > /etc/apt/sources.list.d/docker.list
RUN apt-get update && apt-get install -y docker-ce-cli
USER jenkins
RUN jenkins-plugin-cli --plugins "blueocean:1.26.0 docker-workflow:563.vd5d2e5c4007f"
Build a new docker image from this Dockerfile and assign the image name, e.g. "jenkins-blueocean:2.375.1-1" with the following command
sudo docker build -t myjenkins-blueocean:2.375.1-1 .
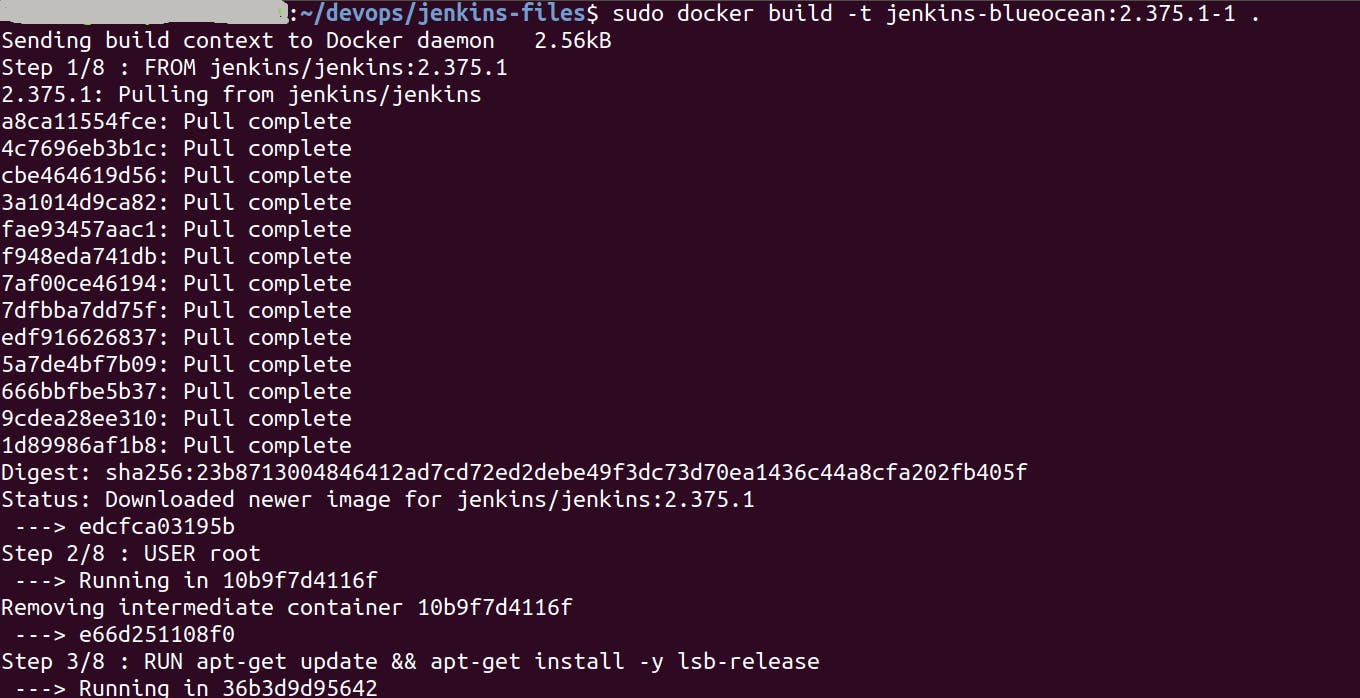
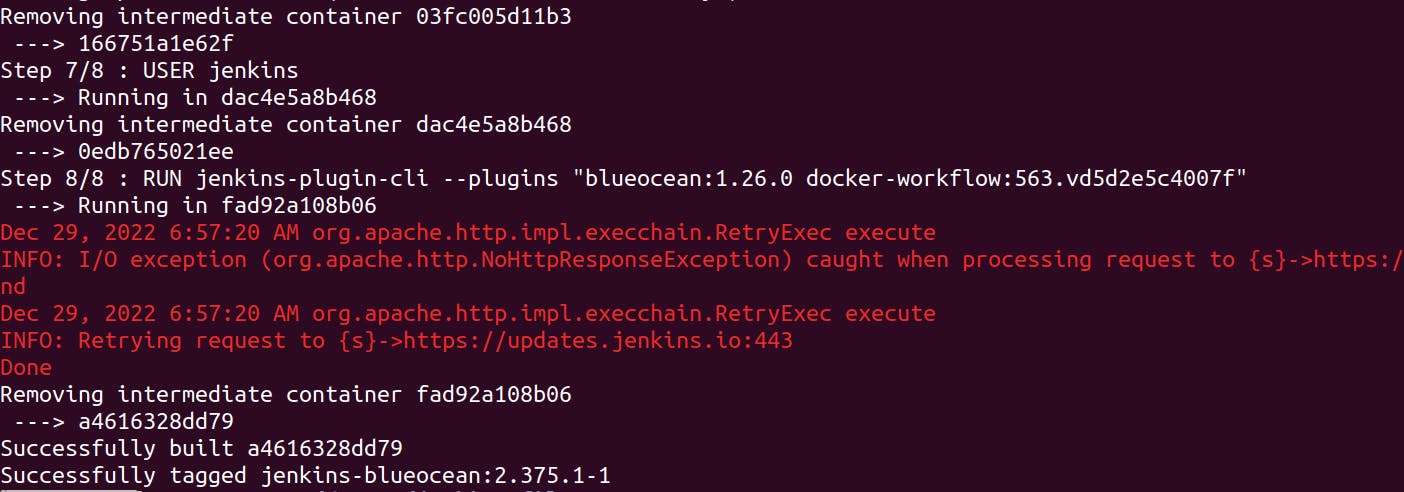
It will take some time to build a Docker image. On successful build, you will get the following result in terminal
Confirm the image is built with the following command.
sudo docker images
You will see a list of Docker images in terminal

Run customised docker image
Run jenkins-blueocean:2.375.1-1 image as a container in Docker using the following docker run command
sudo docker run --name jenkins-blueocean --restart=on-failure \
  --detach \
  --network jenkins --env DOCKER_HOST=tcp://docker:2376 \
  --env DOCKER_CERT_PATH=/certs/client --env DOCKER_TLS_VERIFY=1 \
  --publish 8000:8080 --publish 50000:50000 \
  --volume jenkins-data:/var/jenkins_home \
  --volume jenkins-docker-certs:/certs/client:ro \
  jenkins-blueocean:2.375.1-1

(--name jenkins-blueocean) the Docker container name for this instance of the Docker image.
(--restart=on-failure) Always restart the container if it stops due to some error.
(--detach) Runs the current container in the background and outputs the container ID.
(--network jenkins) Connects this container to the
jenkinsnetwork defined in the earlier step. This makes the Docker daemon from the previous step available to this Jenkins container through the hostnamedocker.(--env DOCKER_HOST=tcp://docker:2376) Specifies the environment variables used to connect to the Docker daemon from the previous step.
(--publish 8000:8080) Maps (i.e. "publishes") port 8080 of the current container to port 8000 on the host machine. The first number represents the port on the host while the last represents the container’s port. Therefore, you would be accessing Jenkins on your host machine through port 8000.
(--volume jenkins-data:/var/jenkins_home) Maps the
/var/jenkins_homedirectory inside the container to the directory namedjenkins-dataof the host machine.(--volume jenkins-docker-certs:/certs/client:ro) Certificates needed to connect to the Docker daemon available in the path specified by the
DOCKER_CERT_PATHenvironment variable.The name of the Docker image, which you built in the previous step.
The above run command returns container ID.
Confirm container is running with following command
sudo docker ps
The above command should output on the screen following the result

Access Jenkins
Browse to http://<host_machine_ip>:8000 (port configured for jenkins). You will see Unlock Jenkins page appears.
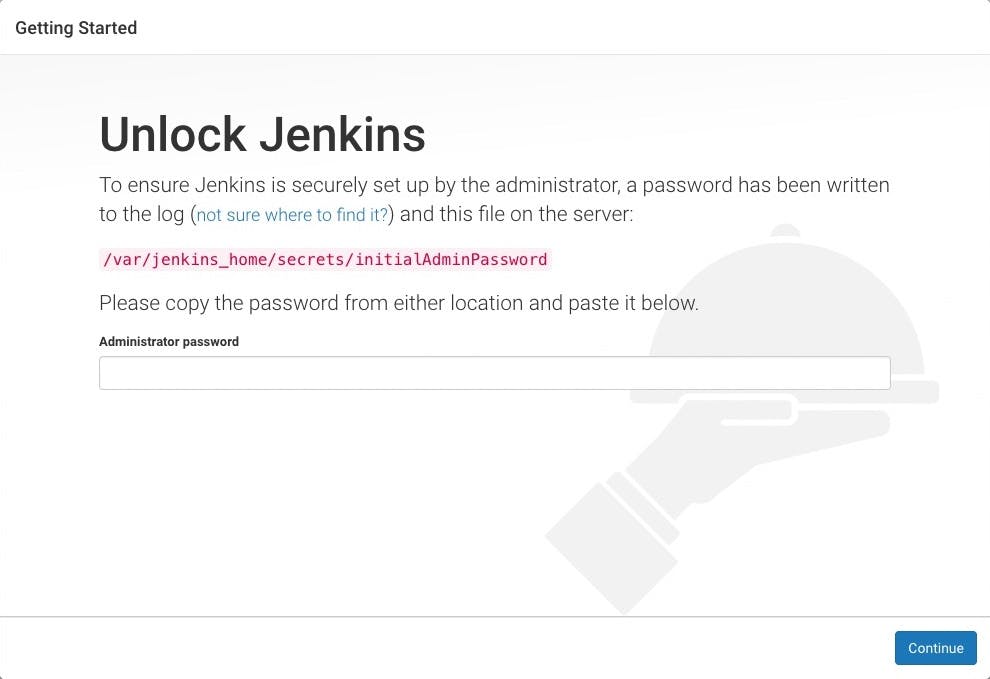
To get the password for unlocking Jenkins open the container logs in the console with the following command
sudo docker logs jenkins-blueocean
In the console output you will get an alphanumeric password as follows
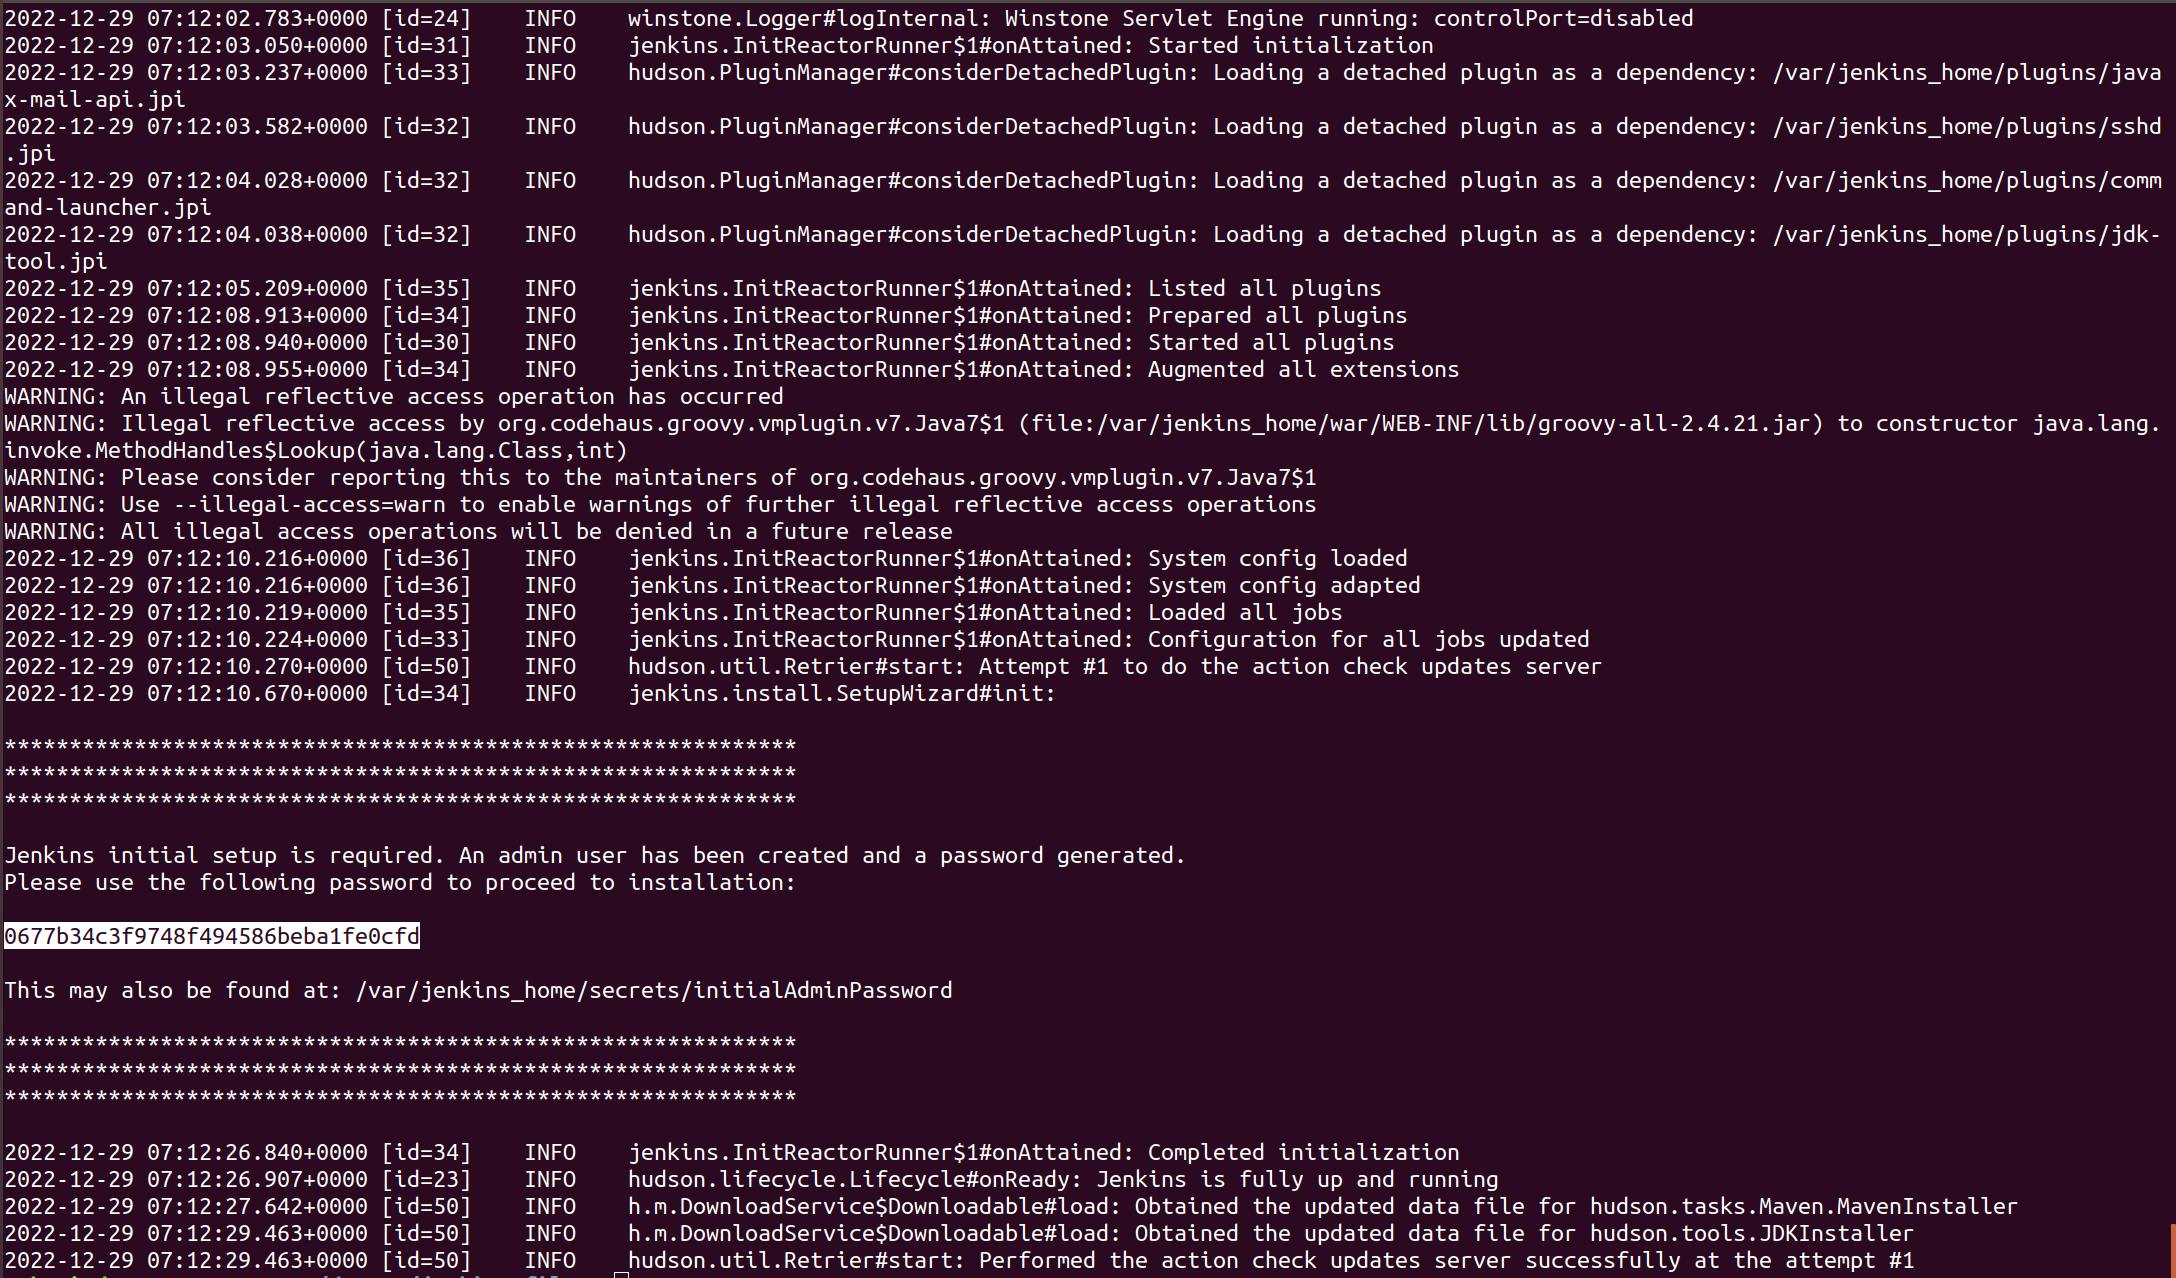
On the Unlock Jenkins page, paste this password into the password field and click continue
After unlocking Jenkins, the Customize Jenkins page appears. Here you can install useful plugins as part of your initial setup.
If you are not sure whats plugins you need, choose Install Suggested Plugins. You can install plugins later also.
After jenkins plugin section, Jenkins asks you to create your first administrator user.
Create admin user and start using Jenkins when Jenkins is ready page appears.
Conclusion
With simple use of Docker we can install Jenkins in Ubuntu system very easly.

